
Map Photos
 (Don’t care about the blather and just want the app? Click here).
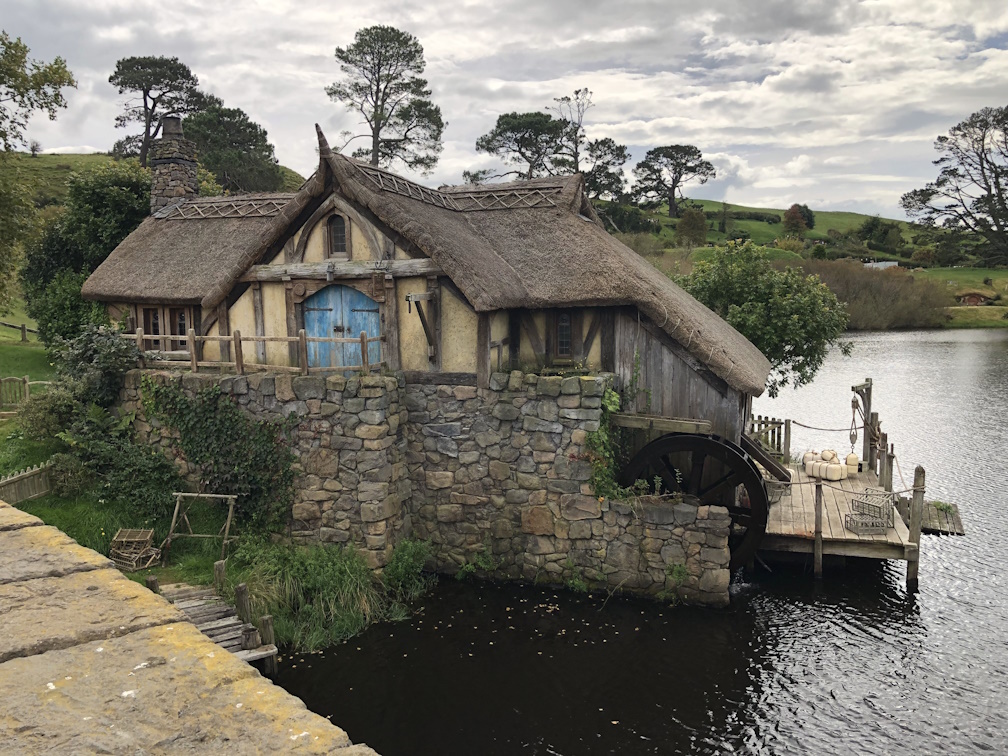
In April we went to New Zealand along with some friends. The trip was amazing and we all took a lot of photos, including this one of the mill at Hobbiton.
I, of course, know exactly where this photo was taken, but I also took a lot of landscape photos, and for those it is a little trickier. On my phone, when I look at a photo it tells me exactly where it was taken. I foolishly assumed that this data would be stored in the metadata of the image when I transferred it to my computer, but no such luck.
Instead, you get this:
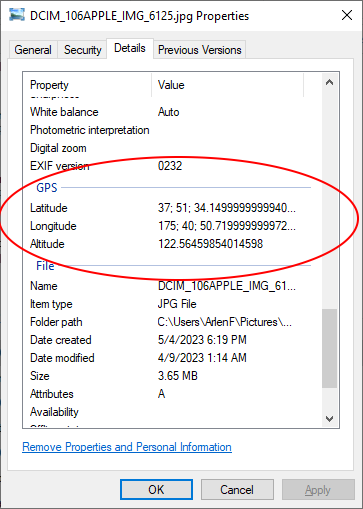
Now, one might argue that this is more than enough information to figure out where the photo was taken, and technically it (more-or-less) is. All you have to do is manually retype the values (you can’t copy these from the property window for some reason), convert them to a decimal format and then enter them into Google Maps.
So, the calculation first – the values are degrees; minutes; seconds. To convert, the formula is: Degrees + Minutes/60 + Seconds/3600
Which gives us:
Latitude: 37 + 51/60 + 34.1499999999940/3600 = 37.8594
Longitude: 175 + 40/60 + 50.719999999972/3600 = 175.6808
If you enter this into Google Maps (just as Lat,Long) it will show some point somewhere in the middle of the North Pacific Ocean! That’s because New Zealand is in the Southern Hemisphere, but the displayed value doesn’t show you that. You have to make the latitude negative to get the value you want (It turns out that the hemisphere data is stored in the metadata, but is not displayed in the GPS section for some reason). So, If we go ahead and enter the corrected values (-37.8594,175.6808) you get the expected map:
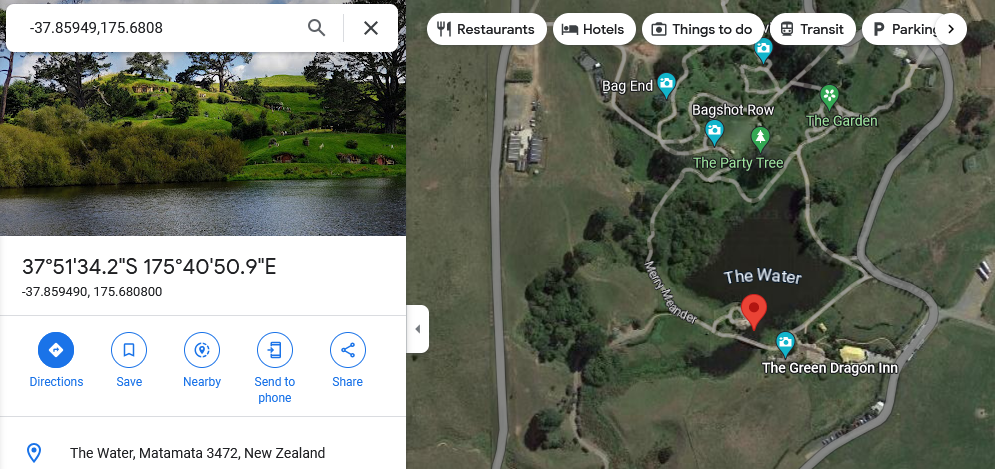
<nerd>Feel free to take a moment to geek out on the fact that this map shows Bag End, The Green Dragon and even the freaking Party Tree! It was unbelievably cool to actually go there!</nerd>
Now, call me crazy, but going through that process every time I wanted to figure out where a picture was taken seemed a little arduous. Fortunately, I’m a programmer and am willing to spend any amount of time and effort to avoid a small amount of work.
What I wanted was to be able to right-click on a photo and say “Open the location of where this photo was taken in Google Maps.” (Or, possibly, an abbreviated version of same).
My first attempt was to build a shell extension (that is what you build to do things like extend the context menu in Windows Explorer). I spent a while trying this and while I kinda got something working, it was painful and slow. Shell Extensions are a pain.
But then it occurred to me that there was a much simpler way. When you right-click on a file, there is a Send to menu that lets you, for example “Send to mail recipient” or “Send to Desktop”. When I set up a new computer, one of the first things I do is add a Send To Notepad option. It’s very easy, since all you have to do is create a shortcut in an appropriate place. If you are interested, you can just hit Windows-R and put in: %USERPROFILE%\AppData\Roaming\Microsoft\Windows\SendTo to see the list. When the shortcut is launched, Windows will helpfully add the full path and filename to the file you right-clicked on as an argument.
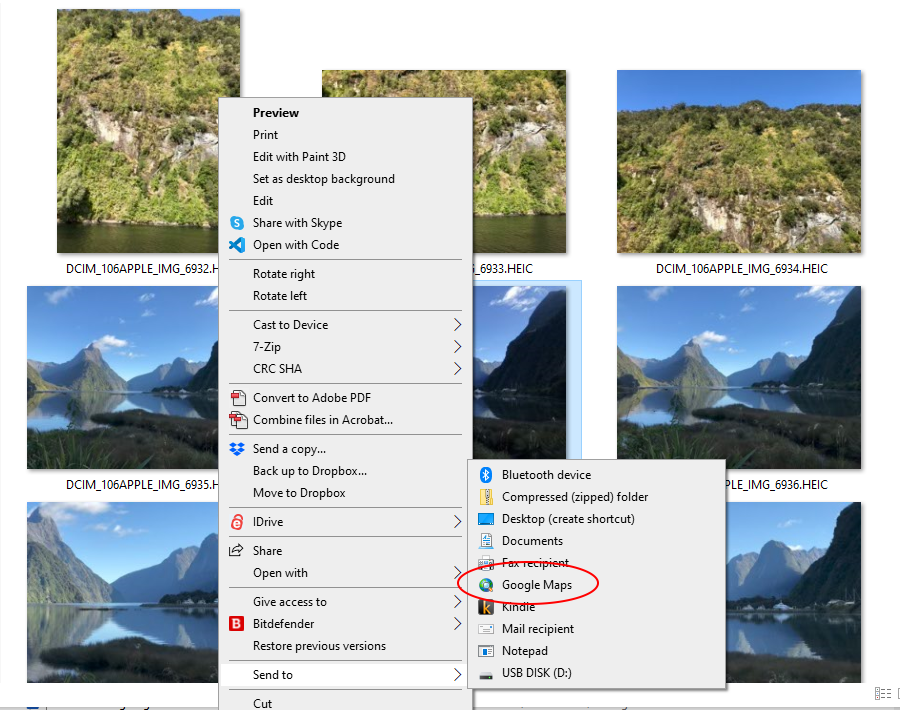
So, I just wrote a little program that reads the metadata from an image file and then launches Google Maps in your default browser with the appropriate coordinates. Now I can right-click on a photo and Send To Google Maps:
Here’s the photo (just ’cause it’s pretty):
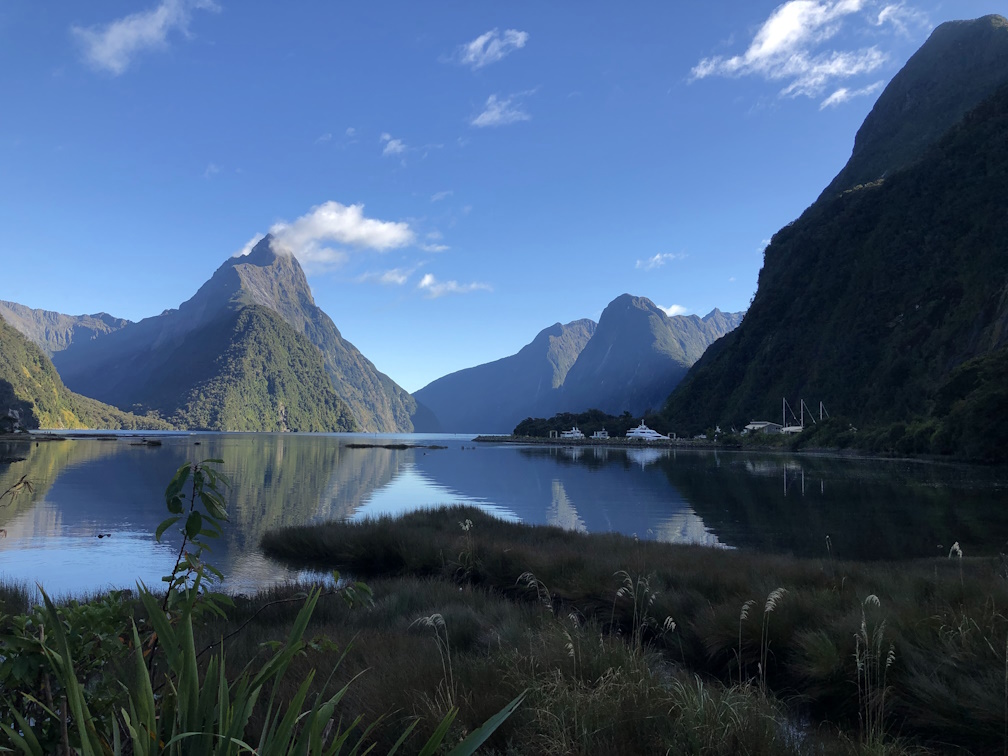
And here’s the map, which shows that the photo was taken at Milford Sound:

I should mention that I just chose this image at random from my trip photos. It is just about impossible to point a camera in New Zealand and not take a photo that is of something amazing. As we were driving around, we would all suddenly stop talking and stare, until someone would say, “Oh look, New Zealand is being scenic again.”
Oh, also Milford Sound is not actually a Sound, but a Fjord. There are very few actual Sounds in New Zealand, but a fair number of misnamed Fjords!
Installing the App
Anyway, having gone to all the effort of building this app, I figured I should wrap it up and make it available to anyone who wanted it, so you can download it here.
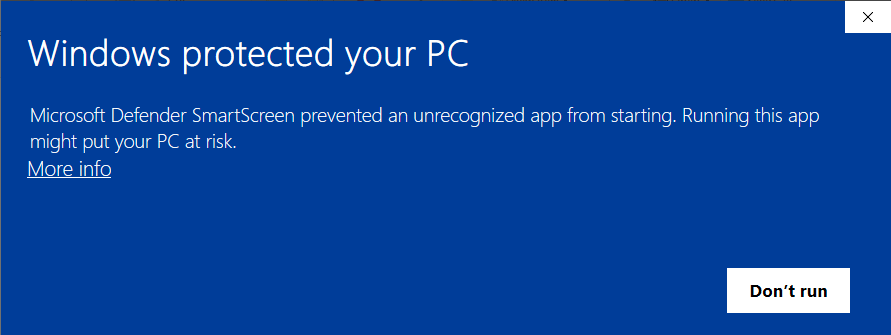
Be aware that when you go to install it, you’ll likely get a warning that this is an evil, nasty, untrustworthy, tricksy file and that you shouldn’t run it. Something like (it will vary depending on your virus-protection software):
That is because I was unwilling to spend $500 to purchase a certificate to sign the installer. At some point, if I have enough stuff to push out into the world, I might go ahead and get one.
If you foolishly want to trust me anyway, just click on More info and then click Run anyway:
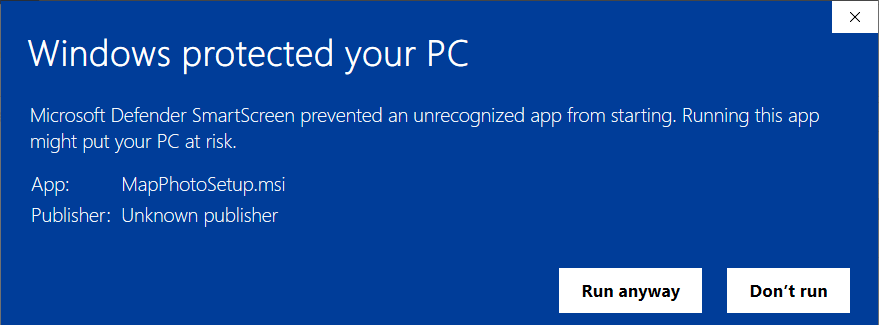
This will install the app and add the shortcut to the Send To menu. Note that I am not an installer expert, so I just built the installer to work on 64-bit systems. In theory I used a version of .NET that should already be installed on most systems (at least on Windows 10/11) – In fact, I rewrote it in that version to avoid interesting installer hi-jinks (something I may write about in a different post). If not, you may or may not get prompted to install the required version (results may vary, consult a physician before swallowing).
Oh, I also cheated on something else. Turns out that the format that GPS coordinates are stored in varies widely between different photo formats. Rather than figure all that out, I just used an open-source library called MetadataExtractor by Drew Noakes. If you go to the site, you will find links that describe all the gory details.
The application is provided as-is with no warranty expressed or implied. If it doesn’t work for you, sorry about that. If you add a comment to this post and I don’t happen to be busy, I may look at any issues you tell me about. Then again, I may not. Feel free to distribute, etc.
Awesome App.
Well, you use Windoze, so you get what you got… It’s probably even worse on macosx.
🐧🐧🐧
I understand the desire to avoid viruses, but I’m not really convinced that the “I’ve spent a lot of money buying something that says I’m legitimate” is entirely a fix. If it is so much of a pain (and cost) to avoid the nasty warnings, then everyone just gets used to dealing with the nasty warnings and happily installs the virus-laden stuff.