
Floating ghost/alien
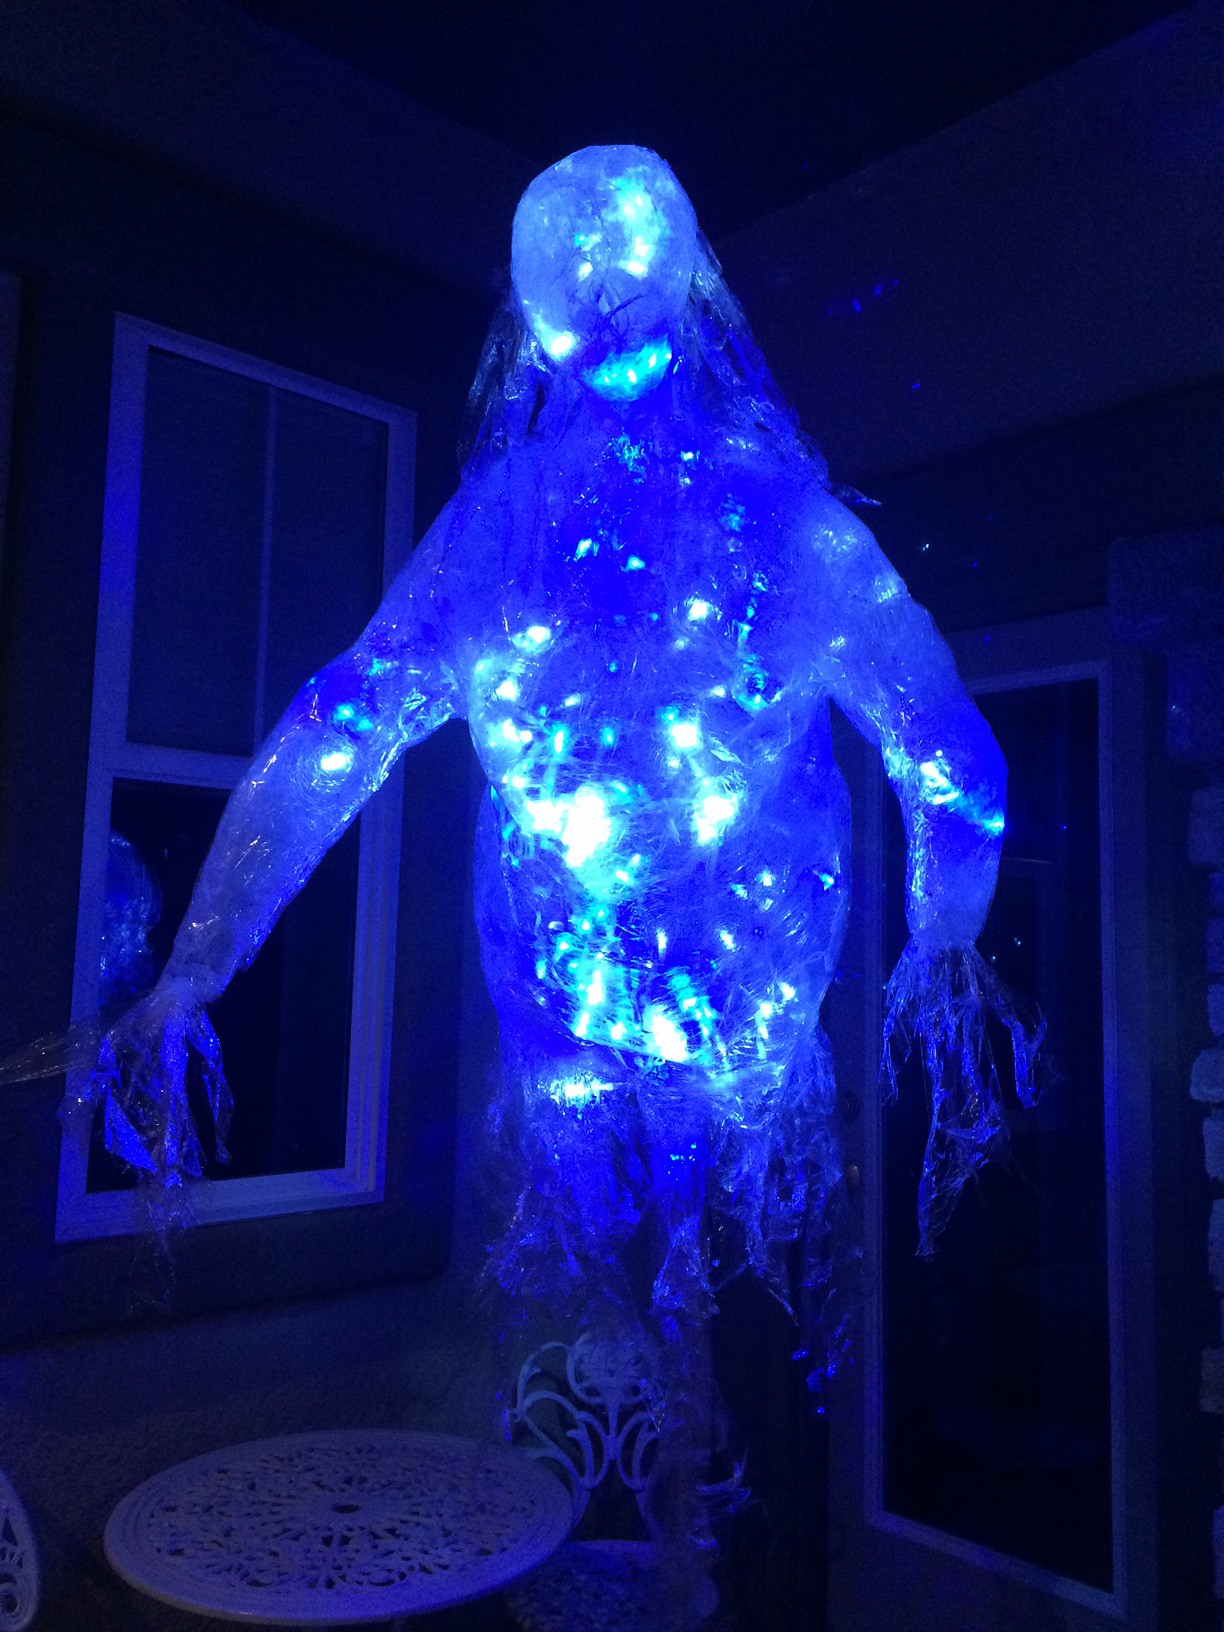 Since Halloween is getting close, I figured I would blog about the ghost we made last year (and are putting back up this year). Actually, you could make an argument for this being more of an alien than a ghost, so I tend to refer to it as a ghost alien.
Each year we expand our (so far modest) Halloween display. We started with a skeleton in a rocking chair (that has lately been seen riding around in cars) and a few other store-bought items. Last year, we thought it would be nice to create something from scratch.
This was fairly easy to make. The idea came from an approach to making a custom dress dummy out of duct tape, that my wife mentioned she was considering. I think it turned out really well, and we got a lot of great comments from trick-or-treaters and family – almost as many as for our two Koi (Fishfingers and Custard) in the little pond by our front door.
If you want to make your own version of this, you only need a few things:
- Plastic wrap (one roll should be plenty)
- A few rolls of packing tape (No clue why this stuff is so expensive)
- Transparent Fishing line
- X-mas lights (we used blue flashing ones from Sam’s)
- Washers
- Scissors
- A reasonably willing human
victimvolunteer - (Optional) A Styrofoam head or other head analog
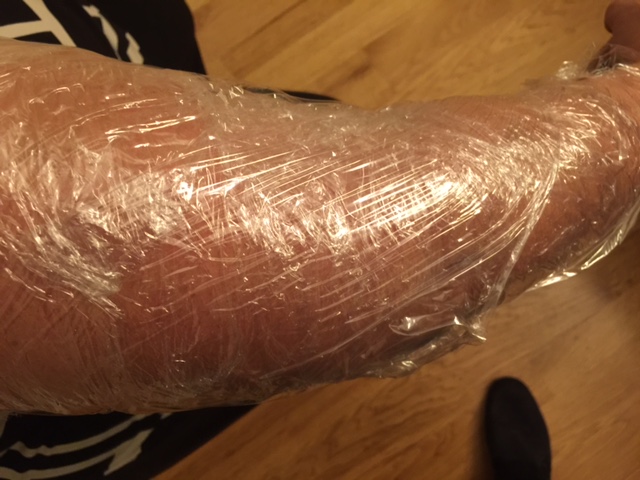
Step 1 – Take your volunteer – in our case, my wife – and wrap her torso in plastic wrap. It helps if:
- Your volunteer is wearing something relatively tight-fitting, although you might end up with some interesting effects if not.
- You have an appropriately positive relationship with the wrappee, particularly if female.
You really only need one or two layers, but you need to make absolutely sure that you don’t miss any areas. It is better to extend the plastic wrap beyond the area that you want to cover. You should try to include the tops of the arms as well.
If you look at the picture, you will see that we have a lot of excess wrap below the body, which adds a nice ethereal look (we also added some more after the fact).
Step 2 – Apply packing tape over the torso, making sure you stay over the plastic wrap. You want to add 2-3 layers everywhere, but if some areas are thicker, that is fine. In fact, you will almost certainly end up with some areas that are thicker unless your model is a perfect sphere in a vacuum…
We went with the “cut strips and apply” approach mostly, but you can just do the crazy-person-box-wrapping approach with the roll if you prefer.
Again, make sure that you avoid taping anything not covered with plastic wrap unless you are feeling particularly vengeful.
Step 3 – Cut off the torso – Extremely carefully, use a pair of scissors to cut a seam in the torso where it won’t be as noticeable, such as along the side under the arm. You should then be able to carefully separate the torso from your model.
Step 4 – Repair the seam – Just tape up the seam using more packing tape. Once done, you will find that the figure is surprisingly solid. You should also patch up any holes or weak spots in the torso using more packing tape.
Step 5 – Create the arms – Same process, different parts of the body. Have your model put her arms in an appropriate pose (that she can also hold for a while – my wife held on to a pole for support). Wrap the arms (you can do one at a time) with plastic wrap, making sure you have a good overlap with the torso.
Then add the packing tape, and cut off each of the arms underneath (again, very carefully — if you draw blood, you lose 50 points). Patch up the seam and any weak spots, then attach the arms to the torso using yet more packing tape.
Step 6 – Create the head – Neither my wife or sister were willing to allow me to wrap their heads with plastic wrap (even when I offered a straw to breathe through – what sort of monster do you think I am?), so we just created the head by wrapping a wig head we had lying around. This worked out really well because the head was slightly smaller than a real head, and didn’t have annoying protuberances, so created a cool profile.
Step 7 – Attach the head with fishing line to the body – The head didn’t really match up and we couldn’t just tape it, so we used fishing line to have the body dangle a few inches below the head, which created a nice effect.
To stop the fishing line from ripping the tape, we taped on some small washers, then made a hole in the tape through the middle of the washer.
Step 8 – Hang the figure and add lights – More fishing line and washers to connect the top of the head to a convenient hook or nail. We also added some additional fishing line to support the lights. The power cord goes out of the “neck” which is just represented by fishing line anyway. If you plan to mount the ghost somewhere without power, there are also battery-operated x-mas lights, but I’m not sure how bright they are.
We also added a bit more plastic wrap to create tentacle-like hands.
Step 9 – Wait until dark, then scream in terror.
Here is a short video showing the lights blinking, with some spooky sound effects in the background:
(My first attempt at embedding video).
The same technique could be used around other things – you could add partial or full legs, use balloons to create shapes, etc. My wife wanted to create a ghost cat as well, but the cat wouldn’t hold still long enough…
Leave a Reply