
Steampunk Arcade Cabinet Part 1 – Control Unit
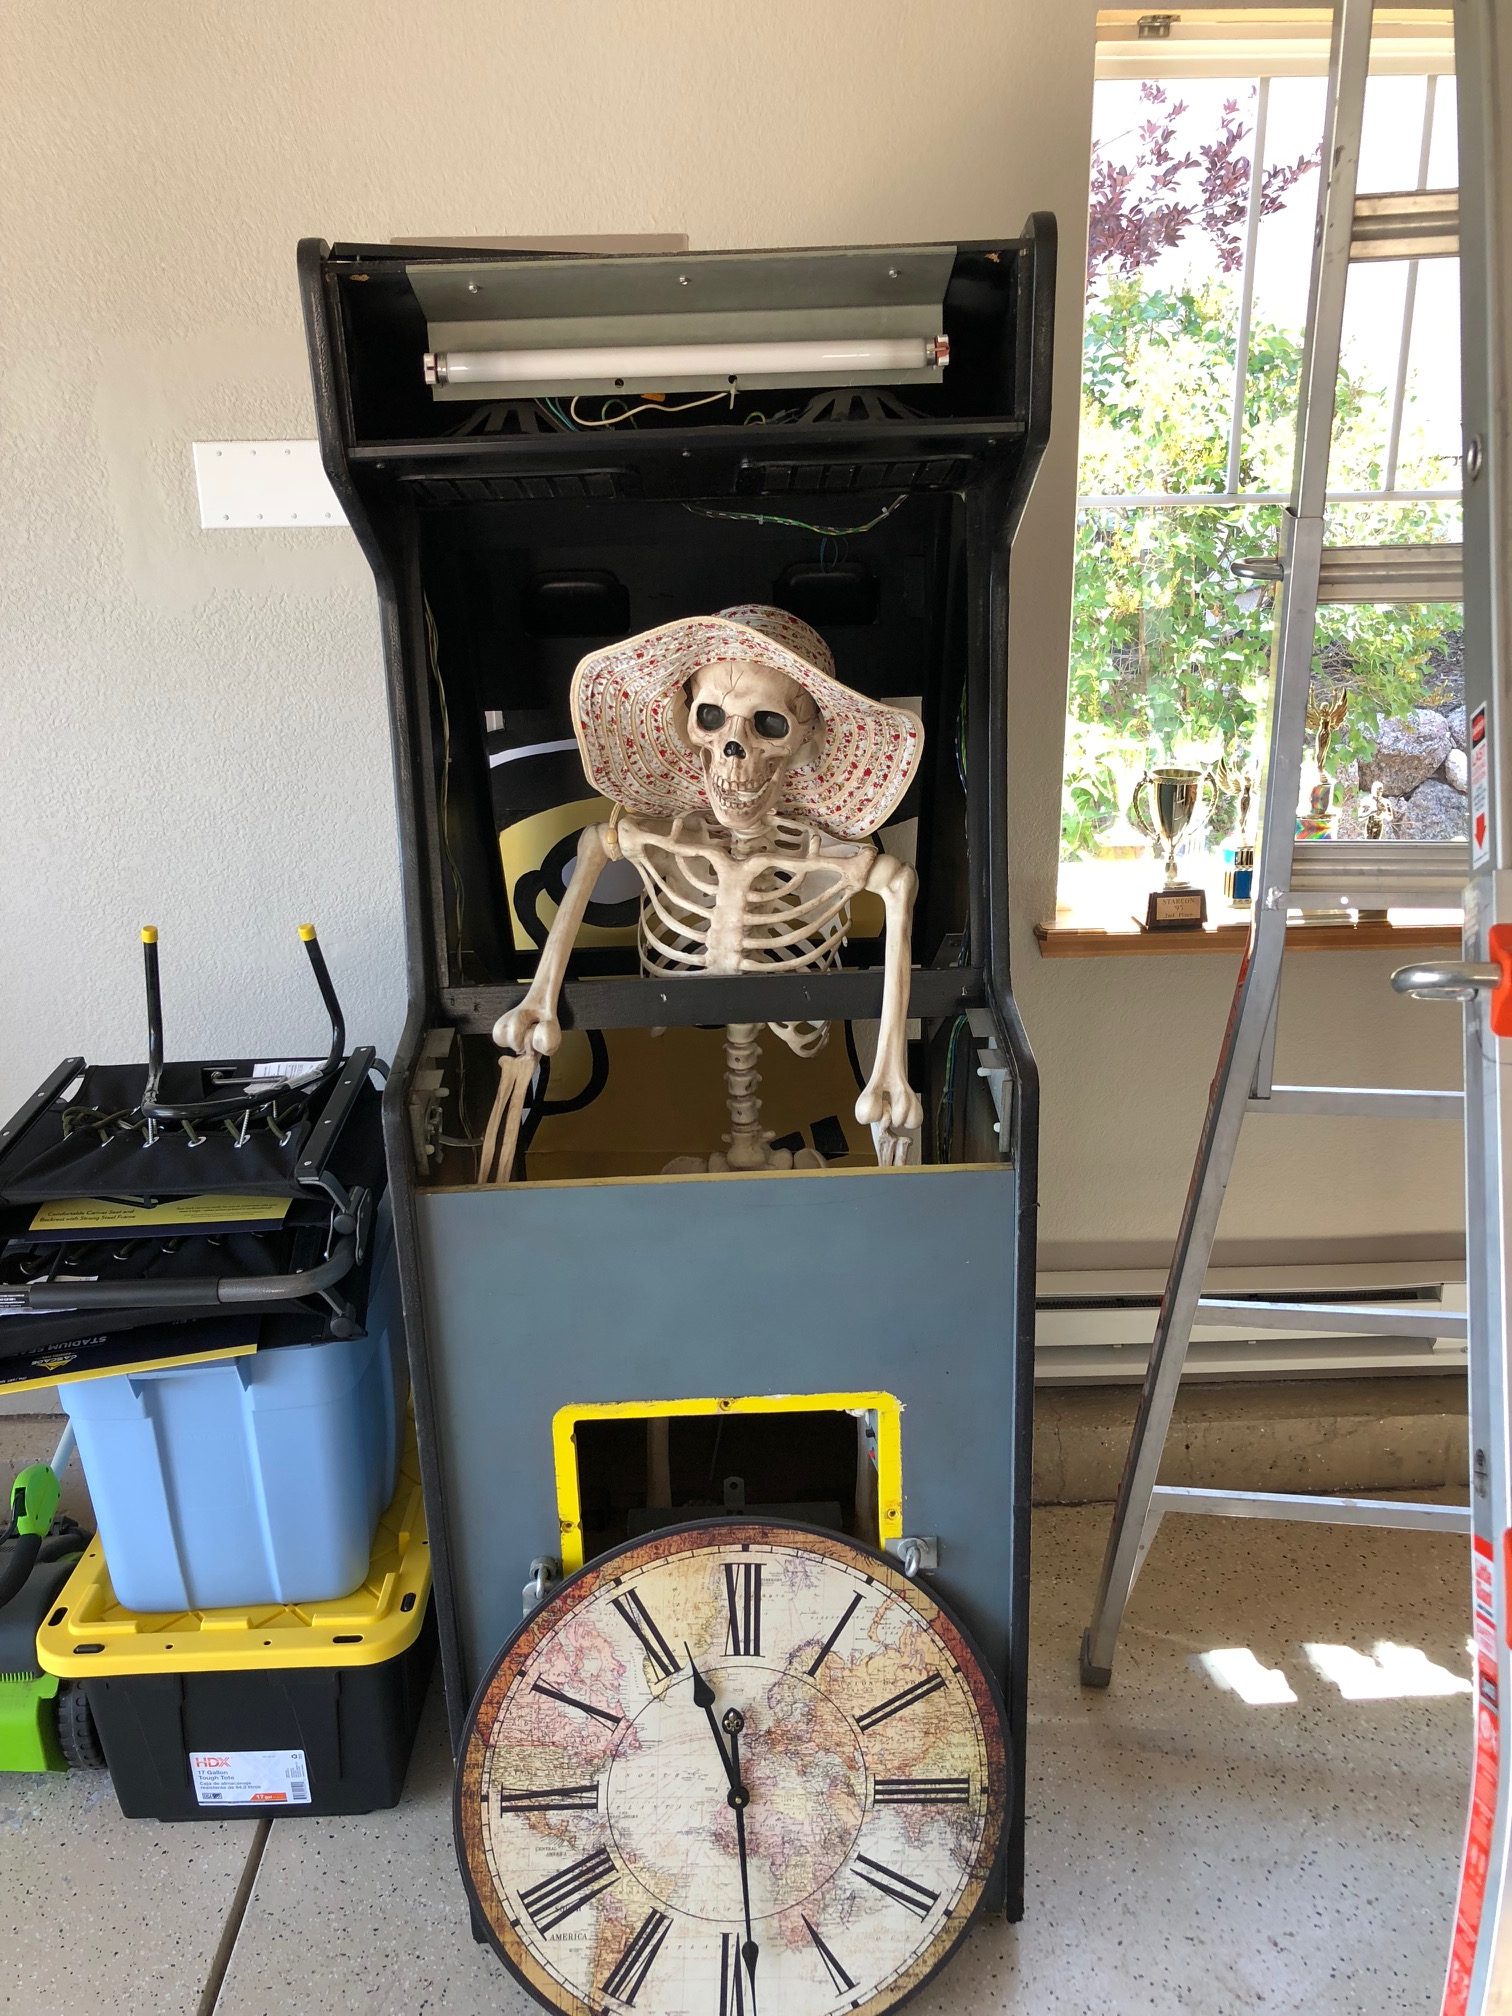
A while ago (longer than I’m willing to admit) We decided to build a steampunk-themed MAME cabinet to play old video games (of Space Invaders/Donkey Kong vintage). We started out by purchasing a busted Arkanoid cabinet (in a snowstorm with broken windshield wipers, but that’s another story), cleaning it up and ripping out most of the guts.
After that, it sat around for a while, doing extra duty for storage:
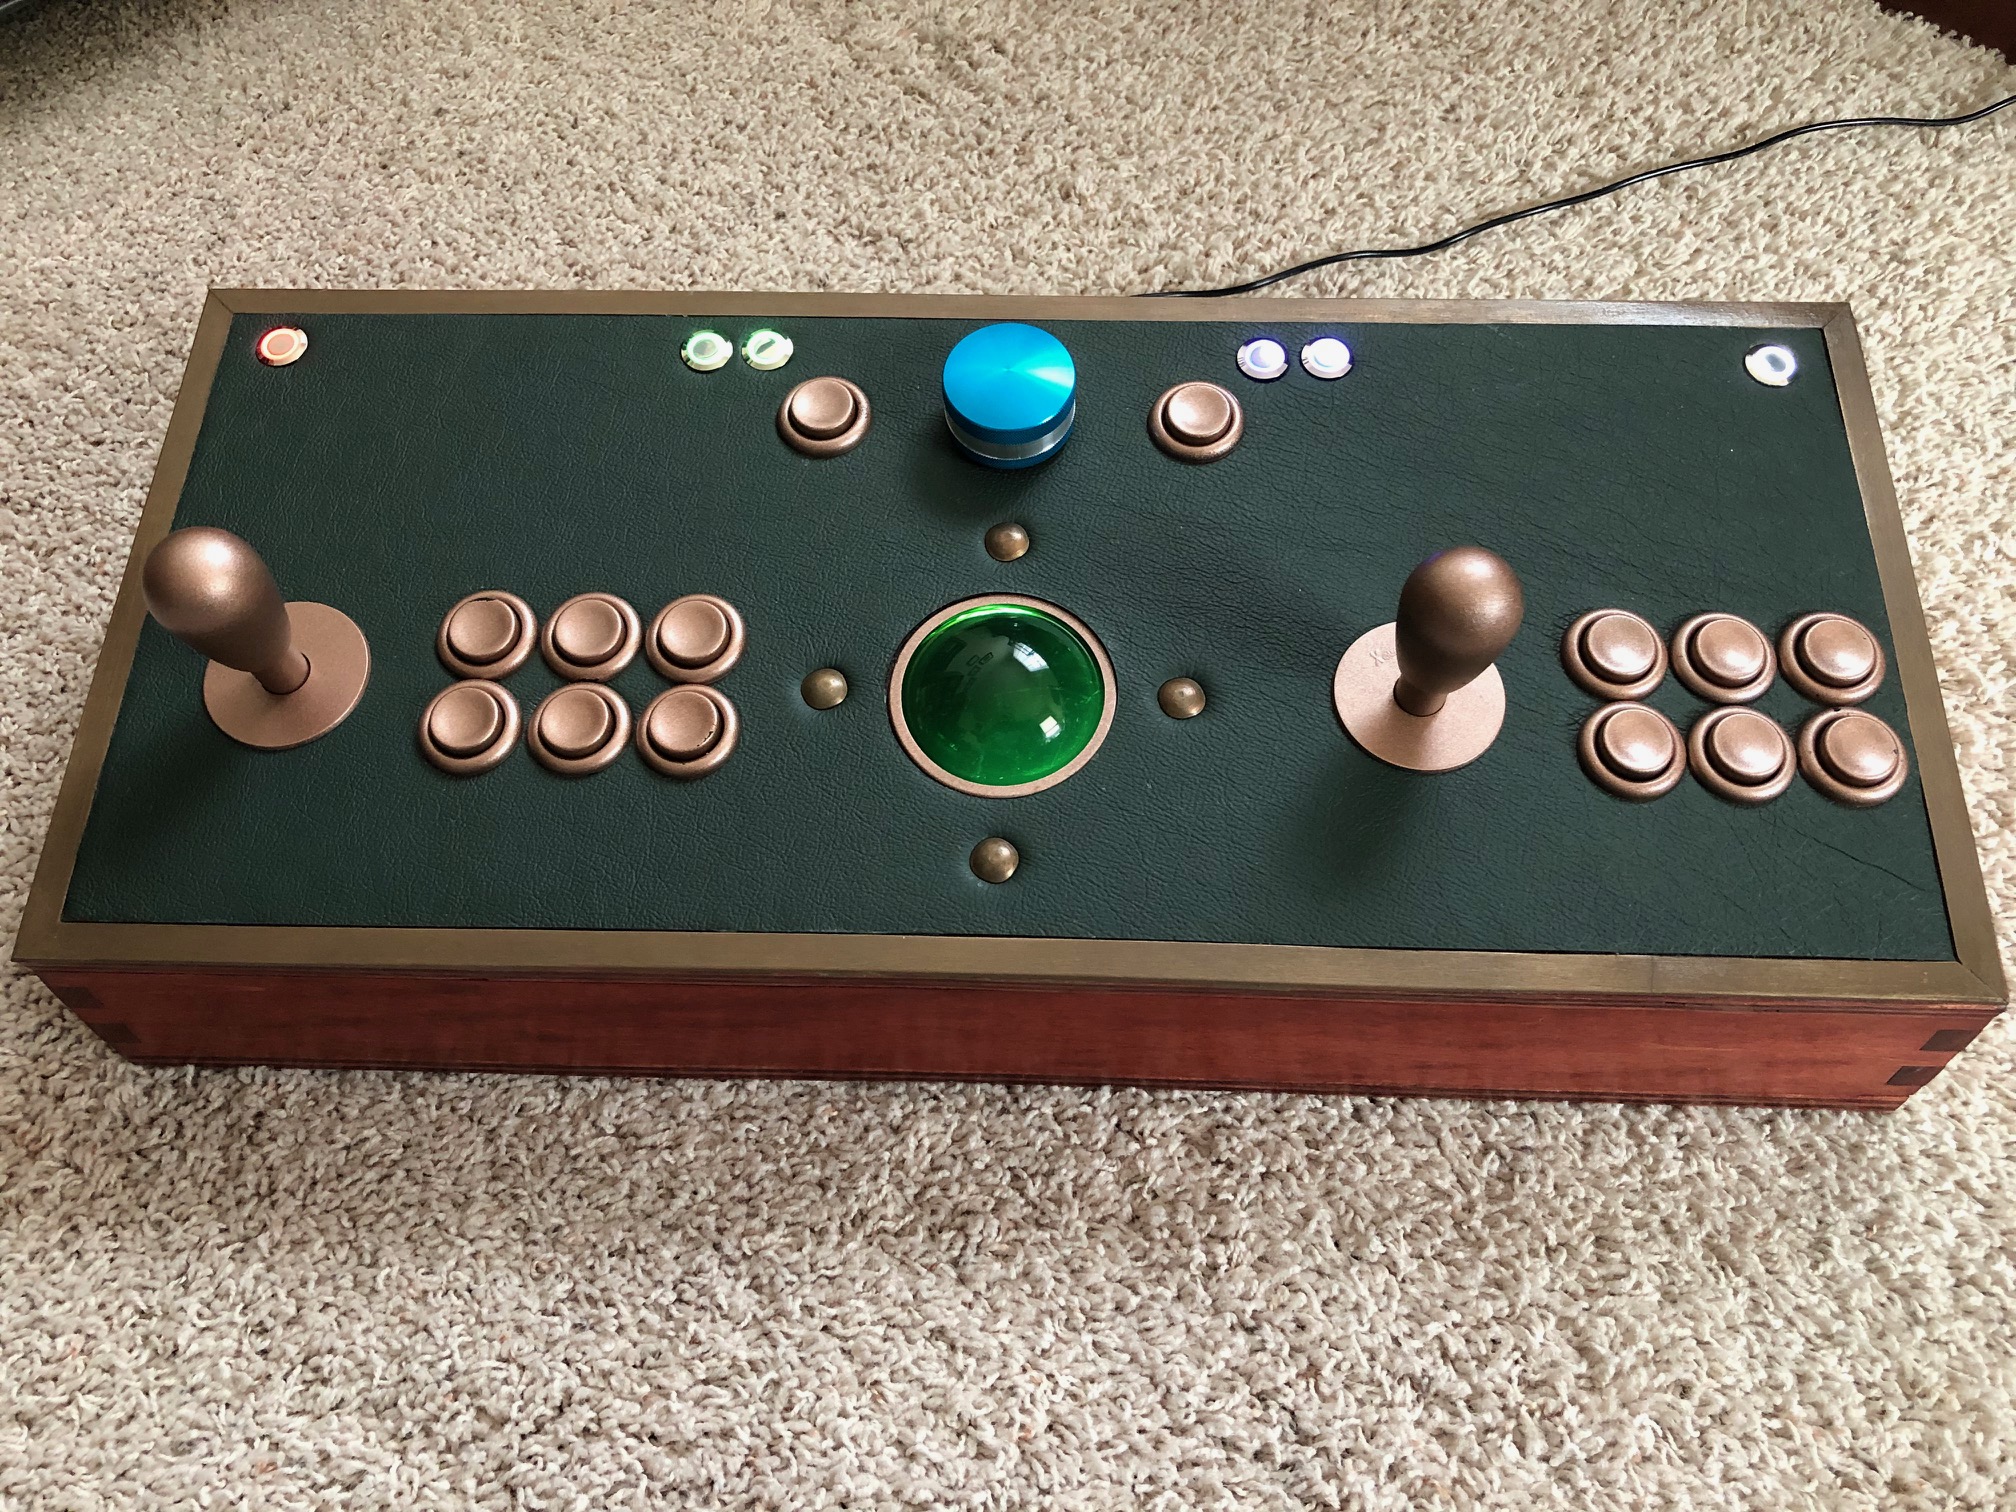
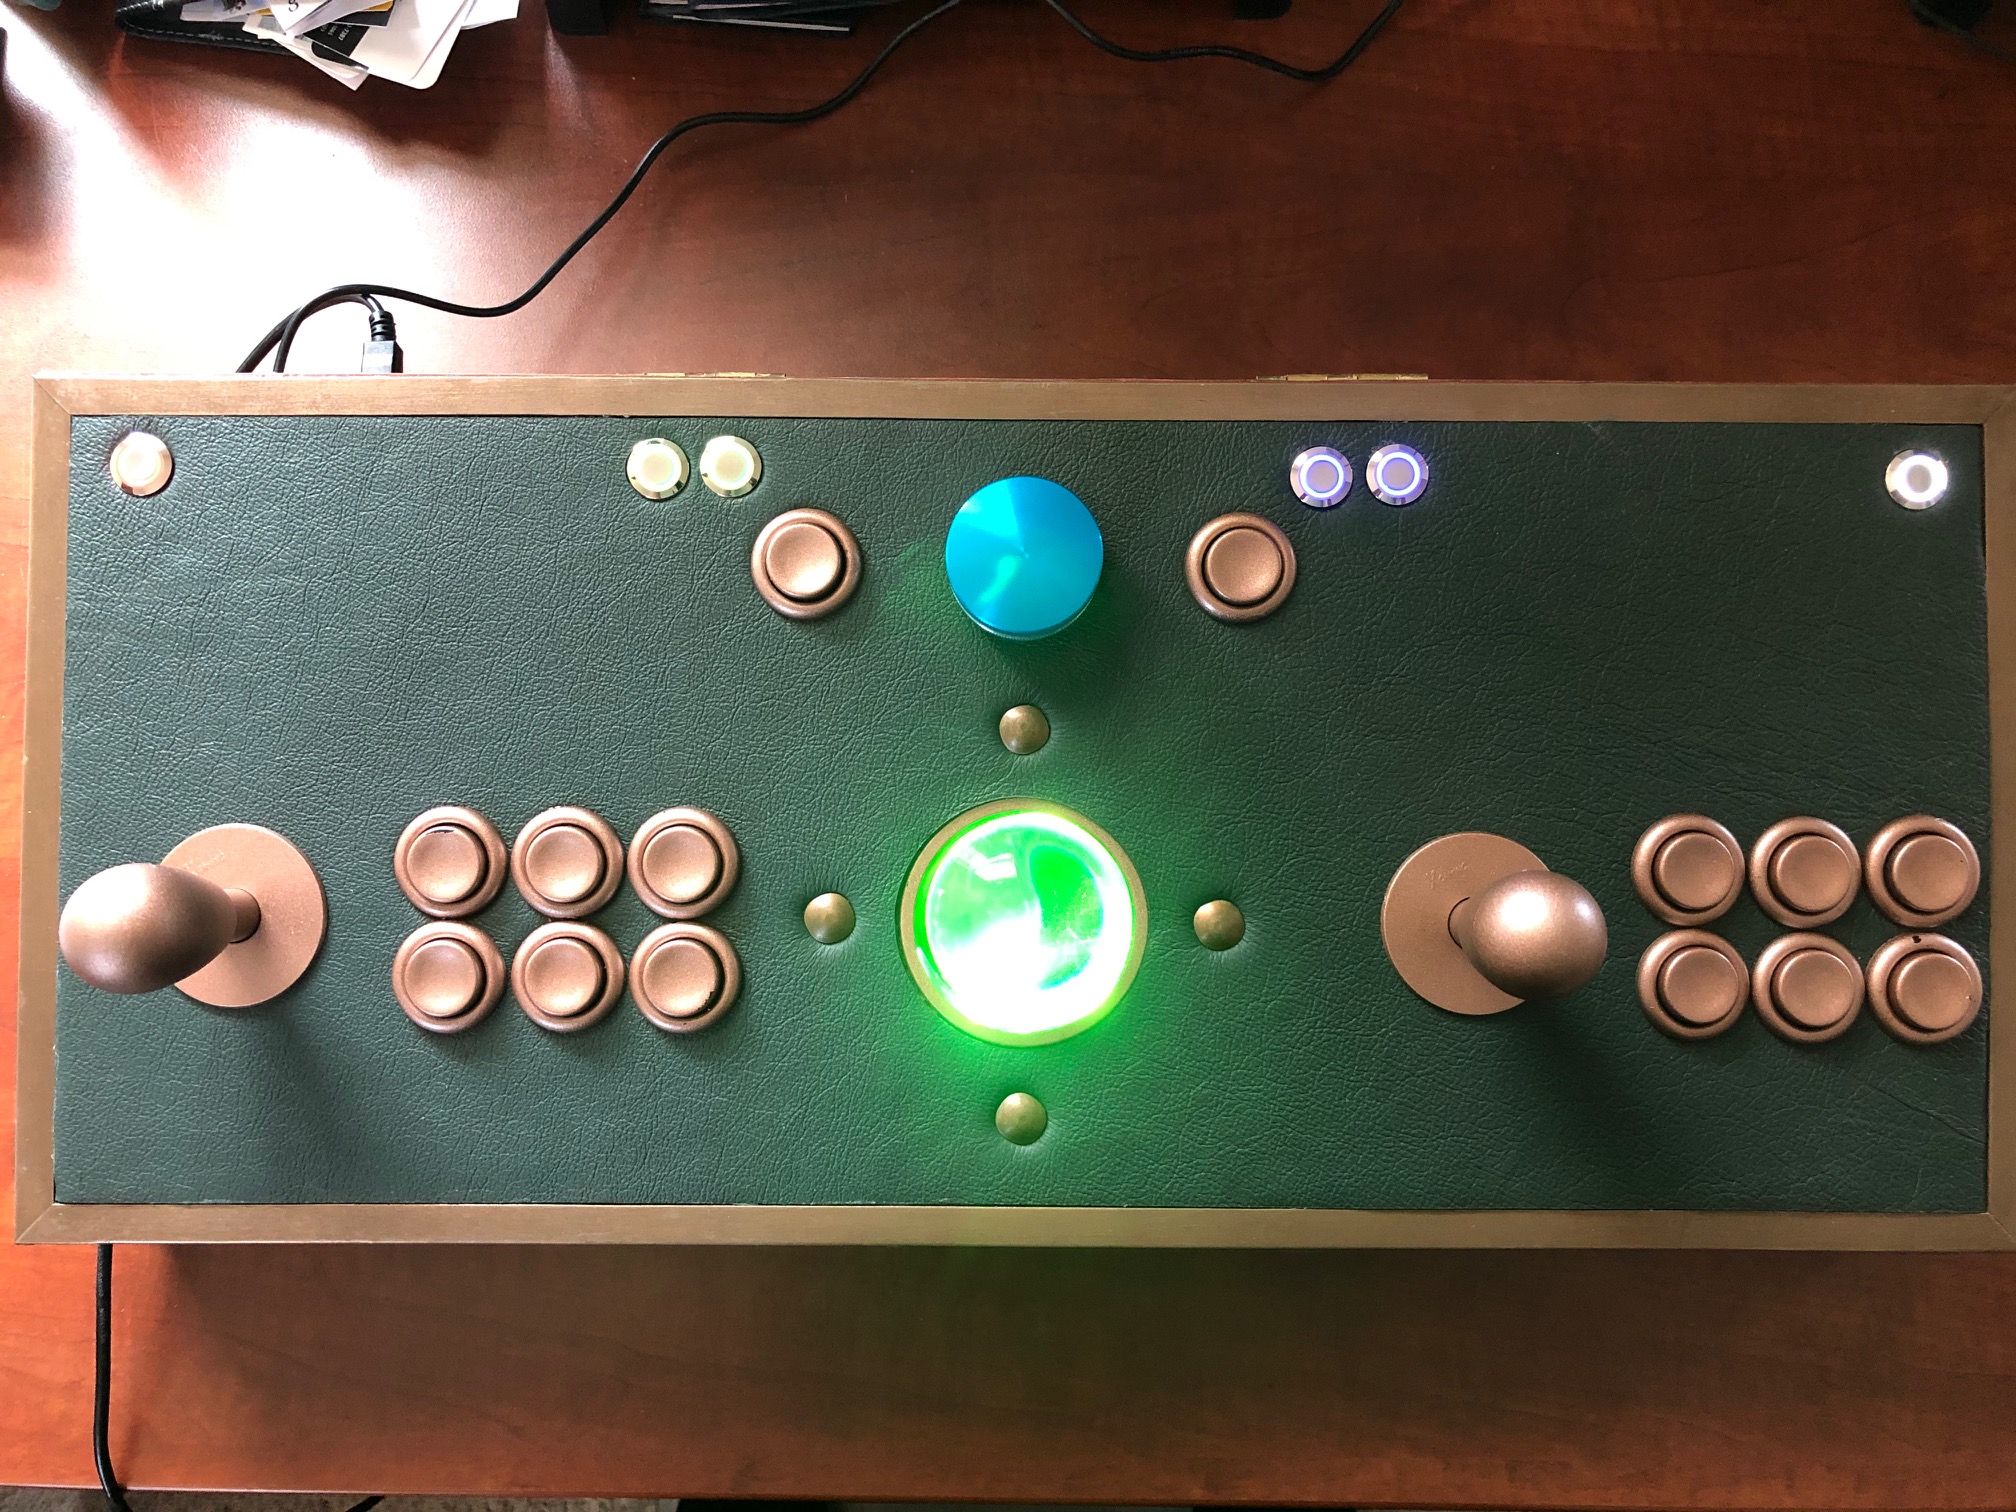
But, we finally got around to working on the control unit and, as of today it is finished!! Now, all we have to do is everything else!
To be fair, the control unit is a significant part of the system – in fact, it is usable by itself (as I can attest, since I’ve spent some time “testing” it by playing games). It also involved learning a bunch of new skills, including:
- Making dovetail joints
- Bronze cold-casting
- Laser-cutting
- Staining/Varnishing (Okay, Anna already knew how to do this, but it was new for me)
Not to mention taxing existing skills such as woodworking, painting and fiddly electronic stuff. Here’s a shot of the inside of the cabinet:

For those who are interested, here are some details about the build.
Core system
The joysticks and [many of] the buttons are controlled using a kit from X-Arcade, and they also sell the trackball separately. They make a (kind of ugly and the wrong size for our cabinet) pre-fab controller, but where’s the fun in that? I also ordered the spinner on-line, but I can’t find the reference as to where. All three items hook up via USB. The original trackball comes with a big white ball, but I replaced it with a transparent green acrylic juggling ball that fit perfectly.
Woodworking
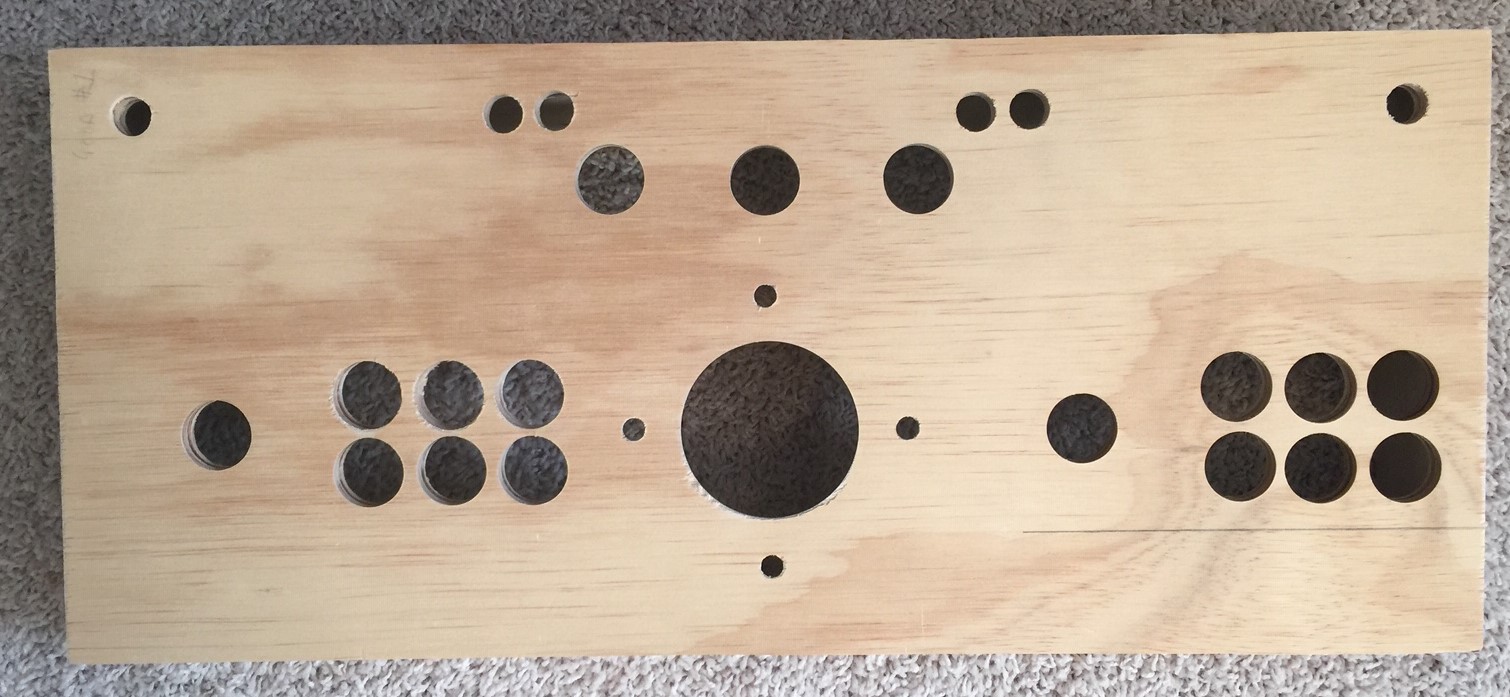 The top is just a piece of plywood with a bunch of holes drilled in it using a template I created in Visio. For most of the holes, I used my cheapie drill press, but I had to freehand a few because the drill press wasn’t deep enough.
I also had to rout out a space behind the trackball so that it could sit high enough up. This meant buying and learning how to use a router, but I needed one anyway for the next bit.
I got a jig for creating dovetails, and I thought that would make it easy. It did not. Our garage is littered with failed attempts at creating the joints. Part of the problem was that the sides are angled, but the jig expects nice 90° angles. The other problem is the gypsy curse lack of skill of the operator. Eventually, after two weeks of trying, I got joints that were not too bad.

Anna did most of the staining and varnishing. I did the bottom and bits that are covered in leather–places where it doesn’t matter how bad I am with a paintbrush. We originally planned on using mahogany stain, but it was too dark. This is a rather nice cherry.
Cold-cast bronze
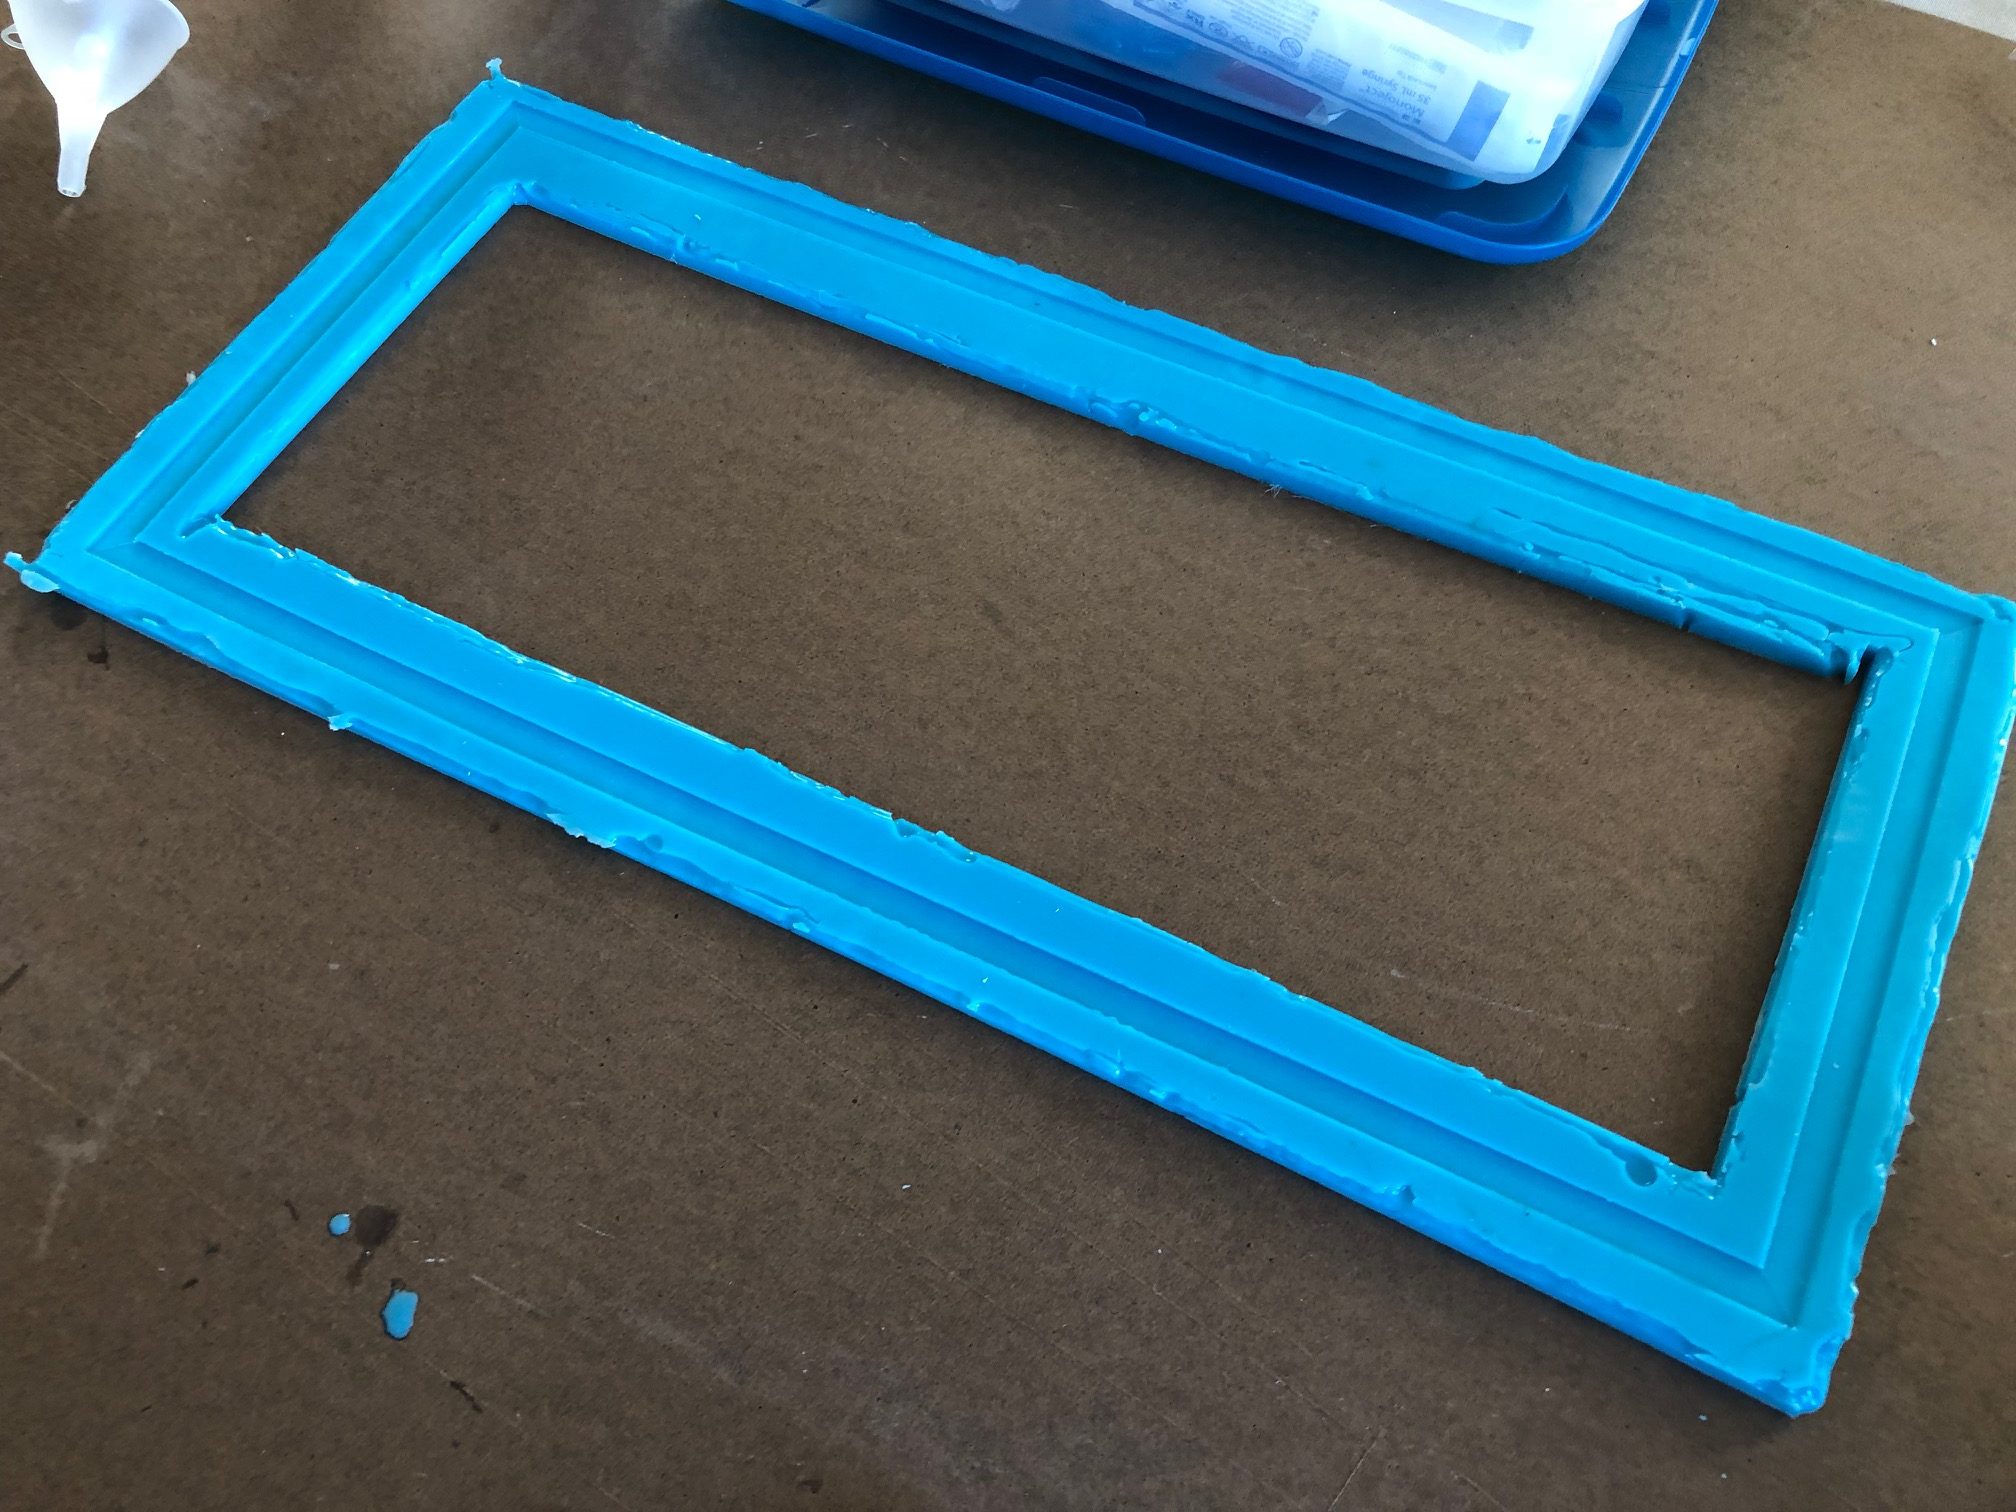
The bronze-looking border around the edge of the controller is actually bronze–sort of. We made a mold using a frame of wood, then cast it using plastic mold-material containing real bronze powder. So, the top and sides are real bronze, look and feel like bronze, can be polished, etc., but the bottom (that you can’t see) is plasticish. Here’s the mold:
Overkill? Definitely. Mostly, I just wanted to play with cold-casting stuff. I mixed up too much of the bronze, so ended up with a bunch of bronze skulls and space invaders from molds I had lying around. So that’s a bonus. Honestly, I think if I did this again, I would probably just rout out a space in the surface for the leather and leave the edges wood, but at the time I was more confident in my ability to mold things than in my ability to rout things! Actually, I’d like to try using a CNC mill, so I may give that a try one of these days…
The original plan was to make a mold of the buttons, and then cast them in bronze-colored (not actual bronze) material so that the color would be solid all the way through. Unfortunately, the fiddly little bits of the buttons wouldn’t come out reliably.
Our next attempt was to paint the buttons using a metallic paint called Swellegant, but the brush strokes showed through. Finally, Anna just spray-painted them all using metallic paint–which worked better than anything, and seems fairly robust (although we need to do a bit of touch-up). So, yeah, sometimes the simple things work the best. Who knew?

Laser Cutter
I love laser cutters. I really really want one, but I a) have nowhere to put one and b) can’t remotely come up with enough stuff to cut/engrave to make it worthwhile. I eventually get around to doing a blog entry on some of my other laser cutter projects.
Since I don’t have my own laser cutter (sniff), I used the one at our local library. It is awesome that they have this available for use, but you generally are limited to one hour a week, so it took a couple of weeks of experimenting with different materials (and a poorly conceived attempt to laser-etch images below the buttons) before I got it right (Hint: fake leather stinks when you try to cut it).
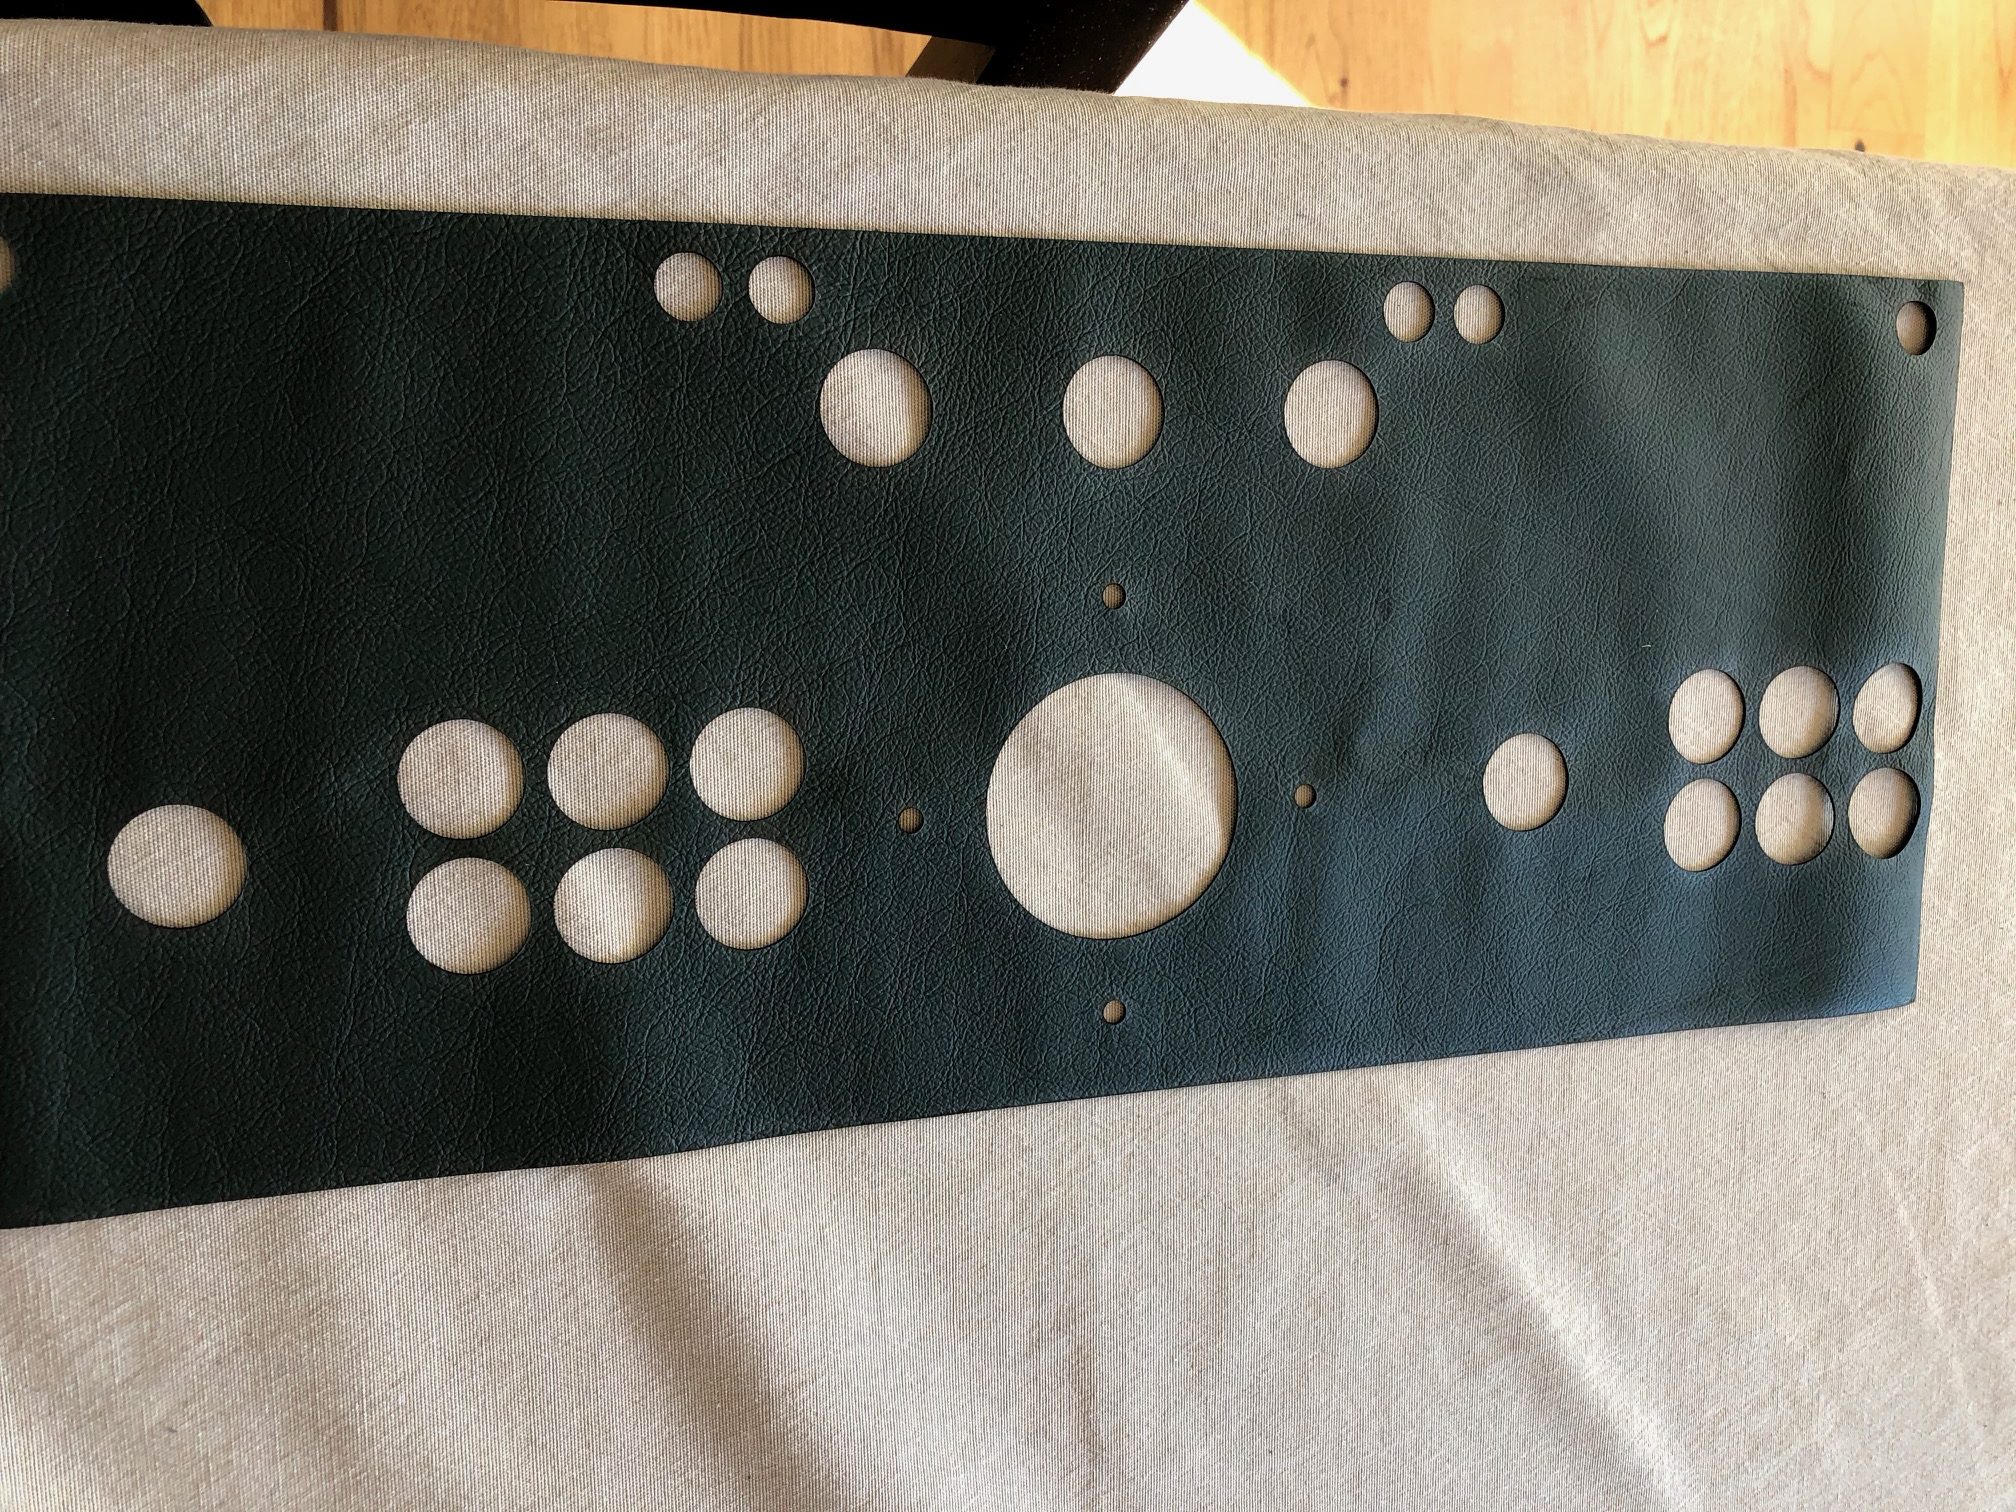
I made a couple of these, along with a felt underlayment to get the thickness right (the leather is barge-cemented to the felt and the felt is contact-cemented to the wood). Unlike my woodworking, it was nice to have a process where each version was exactly the right size. We originally thought we were going to have to dye the leather ourselves, but we found a piece already dyed the perfect color. Unfortunately, we had to buy the whole skin, so we will have to come up with some more projects that require green leather!
Here is a Link to a short movie showing the laser cutter in action on the pattern.
Electronics
The electronics were relatively straightforward. The wires for the joystick/button controllers came with the kit, although I had to extend a few. Originally I used spade connectors, but that caused buttons to randomly activate, so I ended up soldering everything.
The light-up buttons along the top have LEDs built-in, and don’t require any resistors or anything (in fact, they don’t care which way you provide power, so they are quite fancy). I didn’t want to solder on to the switches directly, though, in case I wanted to remove them later, so I used tiny spade connectors. This worked, but they would randomly come loose, so I ended up putting a dollop of hot glue on each one (in theory still removable if I heat the stuff up).
The light for the trackball is just a couple of LEDs with a resistor. I may need to add a little lens to diffuse the light a little–it is a bit too dim from the sides, and a bit too bright straight up.
The big buttons ended up being too close together. They were fine on the top, but I didn’t take into account the size of the nut that held them in place. I ended up having to place alternate nuts upside down. I’m pretty sure that most of the chips in the paint (and a fair number of chips in my knuckles) came from this part of the process.
I had a little trouble with the USB hub. Before installing it and the USB-A to B port on the cabinet, I did test plugging in the spinner and the trackball, but I didn’t test all three things plugged in at the same time. When I finally tested all three together, the spinner stopped working. If I plugged in the spinner first, then plugged in the other two, everything worked, but if they were all already connected, no joy.
I thought I was going to have to get a powered hub (which would have been a pain, since everything else in the cabinet uses 6v but most hubs use 5v), but fortunately I found a slightly nicer hub which works with no problems.
The button controller is programmable, which let me customize the behavior of the buttons. For example, the top-left button exits the current game and the top-right pauses.
Well, that is just about it. Now the controller needs to be installed in the cabinet, along with a computer and monitor. Then it needs to be sanded and decorated, I need to hire the actors to act out the game characters, the speakers hooked up, and a gillion other things. I’ll do an update once more stuff is done (which, based on past experience, might be a year or two from now).
Awesome.